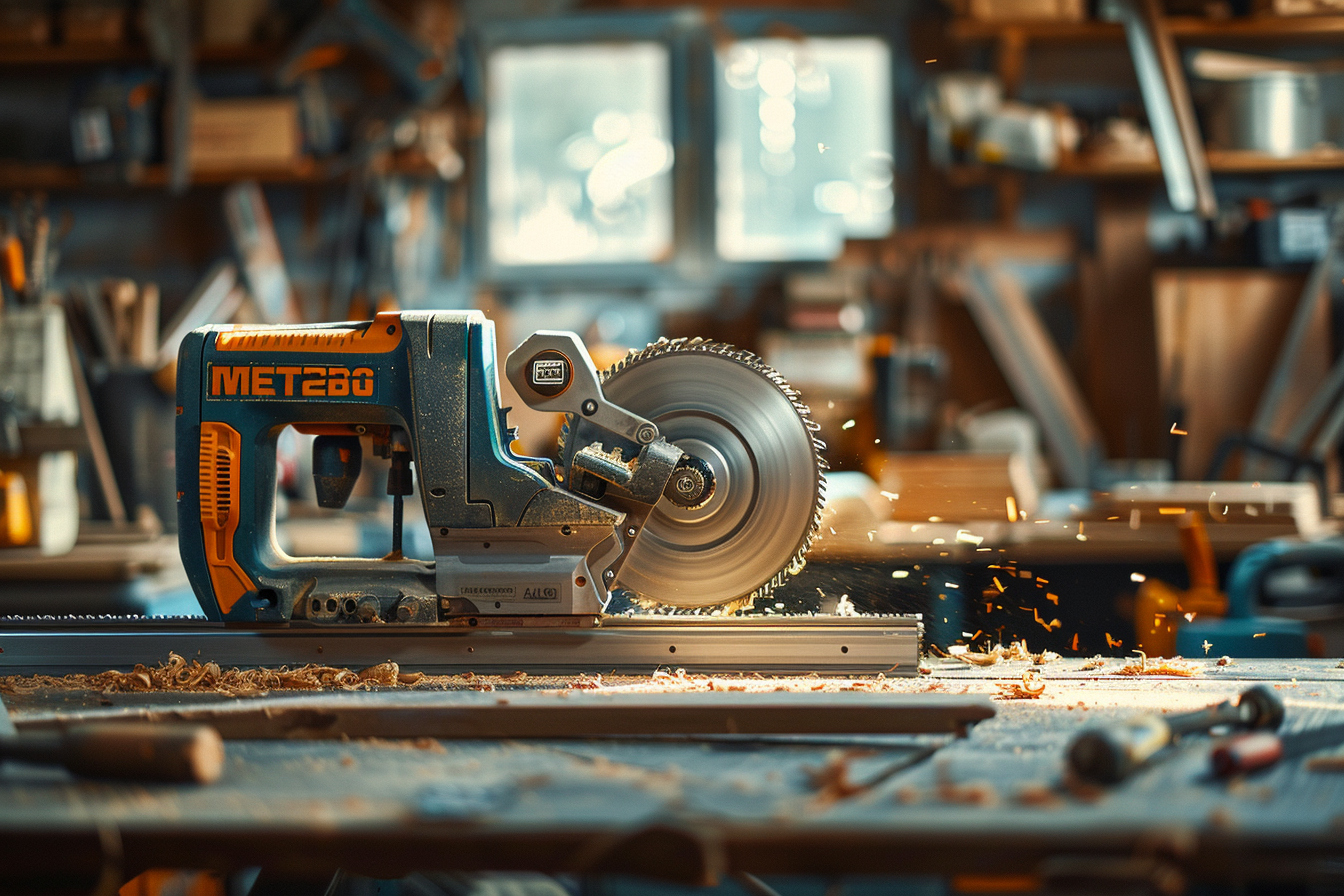
When it comes to carpentry or renovation projects, the metabo miter saw is an essential tool for obtaining precise cuts. Over time, the saw blade can wear out and affect the quality of your work. Replacing the blade of your miter saw is not a complicated operation, but it requires precision and strict adherence to safety instructions. Follow these detailed steps to complete the replacement safely and efficiently.
Preparation and safety

Turn off the power supply
Before any handling, safety comes first. Cut off the power supply to the saw by removing the plug from the socket or switching off the corresponding fuse. This prevents any accidental starting of the machine during the replacement process.
Equip yourself with protective equipment
Wear resistant gloves to protect your hands as well as safety glasses to prevent any risk linked to possible projections of metal particles.
Inspect and clean the saw
The accumulation of residue can hinder your access to certain components of the saw. Careful cleaning of the machine is therefore necessary to work in the best conditions and to have good visibility of the parts you are going to handle.
Steps to replace the blade
1. locate and unlock the blade mechanism
The Métabo miter saw is equipped with a locking mechanism to secure the blade. Usually locate it on the back of the blade housing or near the center. Once located, twist the lock to release the blade.
2. remove the blade guard
To access the blade, you will probably need to remove the guard that covers it. Carry out this operation carefully so as not to damage the plastic or metal parts that make it up.
3. block the blade axis
Most miter saws have a knob or pin to lock the blade spindle and prevent it from spinning when you loosen the retaining nut. Locate this feature and activate it.
4. loosen the fixing nut
Using the wrench supplied with your saw or a suitable wrench, turn the retaining nut counterclockwise (on most saws). Some models require a double wrench, one to hold the axle and the other to loosen the nut.
5. remove the old blade
Once the nut is loosened, remove it completely and carefully remove the old blade. Take the opportunity to clean the area if necessary.
6. Install the new blade
Position the new blade, paying attention to the direction of the teeth. They must be oriented towards the direction of rotation of the saw. Make sure that the blade is perfectly centered and that the notches are aligned with the notches provided for this purpose.
7. reinstall the retaining nut
Replace the fixing nut and tighten it firmly clockwise while keeping the axle locked.
8. put the blade guard back on
Replace the blade protection, taking care not to pinch or damage the safety device which must be able to slide freely during future cutting operations.
9. release the blade locking mechanism
After putting everything back together, release the blade locking mechanism to ensure that it can turn easily without any hindrance.
10. Function test
Reconnect the saw to a power source and perform a no-load test to ensure the blade is properly seated and exhibits no abnormal movement while rotating.
11. cutting test
Finally, carry out a test cut on a small piece of wood to validate the quality of the cut and the absence of vibration or deviation of the blade.
Regular maintenance
Evaluate blade wear
Regularly checking the condition of the blade greatly contributes to the quality of your work and your safety. Signs of dull teeth, deterioration or corrosion are all indicators that replacement might be necessary.
Keep the saw clean
Maintaining a clean saw increases its durability and reduces the risk of an incident. Clean your saw regularly to remove cutting residue and accumulated dust that can hinder its proper operation.
Sharpen or replace the blade
Some blades can be sharpened to extend their life, but when this becomes too frequent or the sharpening is no longer effective, it is time to replace them.
Additional Tips
Maintaining a good knowledge of the different types of blades available is essential, as each material to be cut may require a specific blade for optimal cutting. Likewise, properly storing your extra blades is crucial to avoid premature deterioration due to moisture or dirt.
Replacing the blade of your Metabo miter saw is not only a question of following the steps, it is also a question of regularity and attention to detail. Using the appropriate method and carrying out the replacement in a clear, well-lit environment will allow you to carry out this work with confidence and precision.


