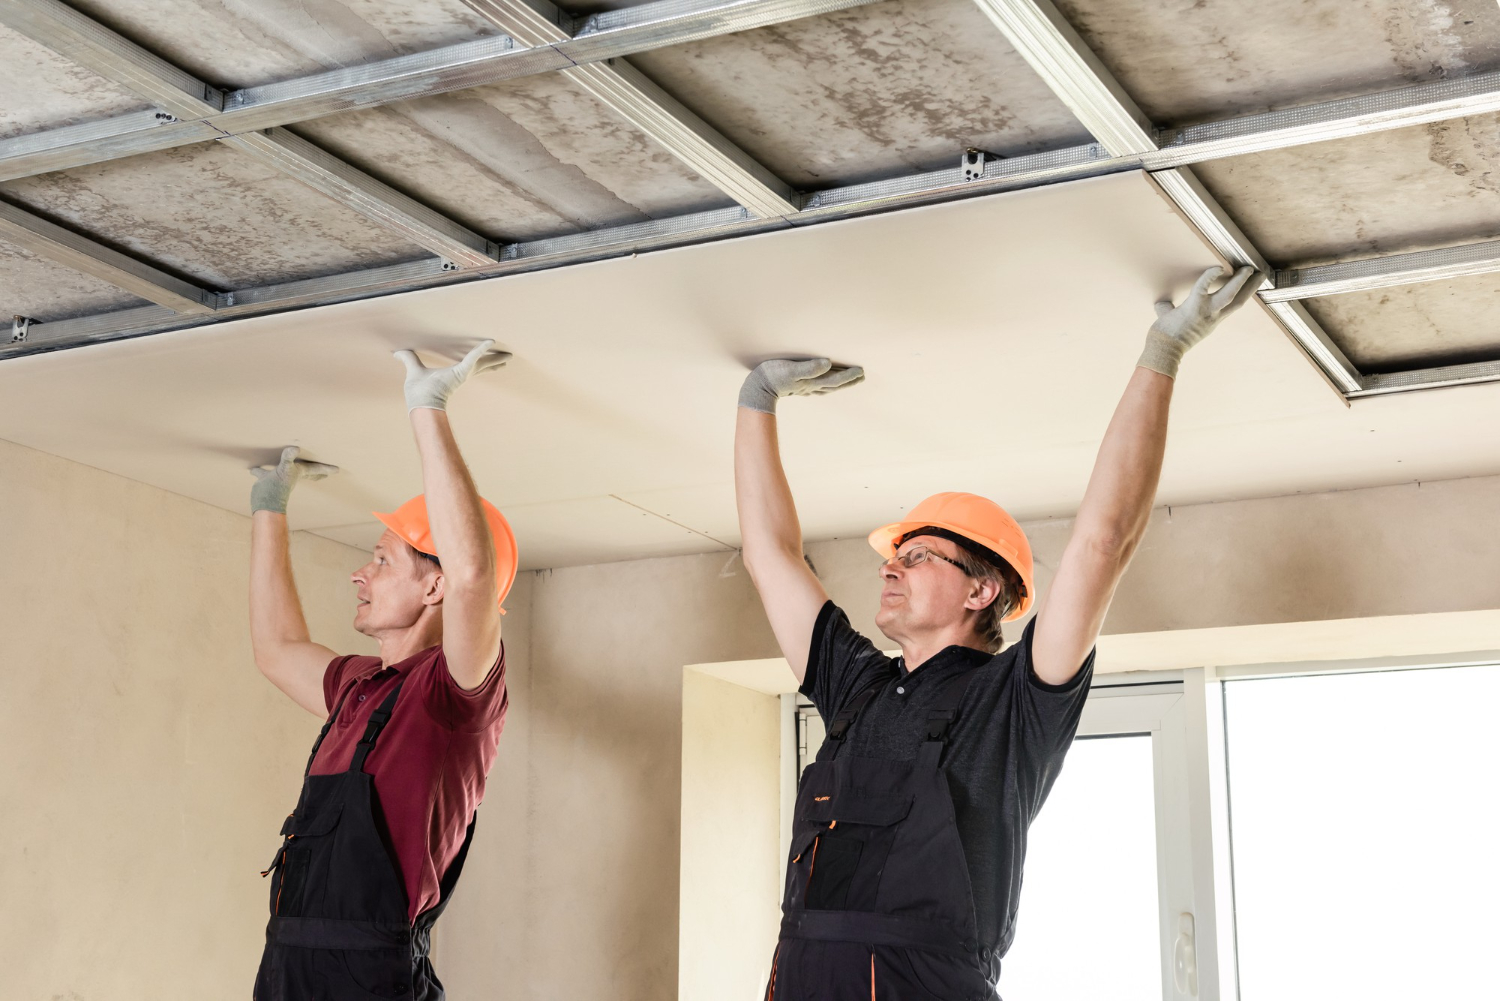
If you want to create a sloped space in your house, it is important to prepare the land well before starting the installation of the placo. Indeed, preliminary steps are necessary to guarantee optimal results and avoid possible problems.
Analyze the space and take the necessary measures
Before starting work, it is crucial to understand the space you want to create and take the necessary measures. It is recommended to make a precise sketch of the under-slope area, noting the dimensions of the walls, angles and heights. This will allow you to have a clear vision of the space and plan the exact quantities of materials you will need.
Strengthen the existing structure
The next step consists of reinforcing the existing structure of the underslope. In general, attics have a light frame and it is therefore important to ensure that it can support the weight of the placo and any additional fittings. Call a professional if necessary to reinforce the structure with additional wooden beams or joists, to prevent further sagging or deformation.
Provide good insulation
Good insulation is essential to guarantee the thermal and acoustic comfort of the space below the slope. Before installing the placo, make sure you install effective insulation. Depending on your needs and the characteristics of your home, you can choose between different insulation materials such as glass wool, rock wool or polystyrene. Be sure to insulate the walls, floor and ceiling well to avoid heat loss and noise pollution.
Install good ventilation
Good ventilation is also essential to avoid problems with humidity and mold. Be sure to install air vents in your sloping space, ensuring their strategic positioning to promote optimal air circulation. If necessary, you can also provide a controlled mechanical ventilation (VMC) system to ensure constant air renewal.
Choosing the right type of placo
Finally, it is essential to choose the right type of placo for your under-slope development. There are different types of plasterboard on the market, each with its own specific characteristics and uses. Opt for plates adapted to the constraints of the space below the slope, such as water-repellent plates for humid areas or sound-absorbing plates to reduce noise. Do not hesitate to seek advice from a professional if you have any doubts about choosing the most appropriate placo.
Choosing lighting for your sloped space
Once you have carefully designed your sloped space, it is important to think about the right lighting to create a friendly and functional atmosphere. Lighting plays a crucial role in the design of a space, affecting not only the appearance but also the feeling of spaciousness in a room.
Natural lighting is always the best option when possible. Make the most of existing windows or consider adding skylights, if the structure of your home allows. These can provide an abundance of natural light, making the sloping space bright and welcoming.
However, not all sloping spaces benefit from a sufficient source of natural light. In this case, well-designed artificial lighting is essential. Recessed spotlights are a great option for sloped ceilings because they don’t take up room space. They can be angled to highlight specific features or to create soft ambient lighting.
Also consider accent lighting, which can help create a warmer, more welcoming ambiance. Adding floor or table lamps can also help provide adequate lighting for different activities, such as reading.
Additionally, it is important to choose bulbs with the right color temperature for your sloped space. Bulbs with a warm color temperature can help create a warm and welcoming atmosphere, while those with a cool color temperature can provide a more modern and energetic look.