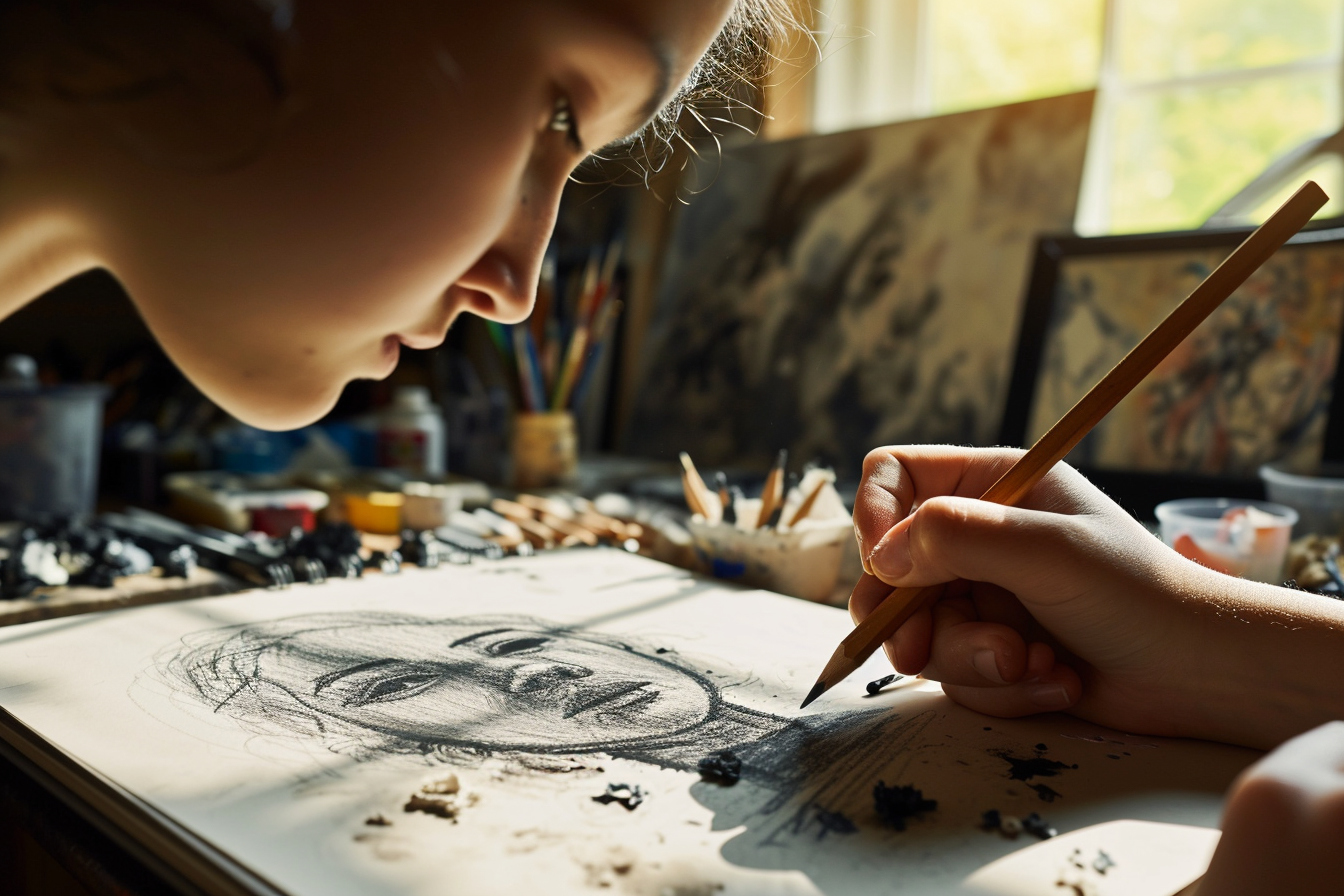
Have you always wanted to learn how to draw a portrait, but don’t know where to start? Don’t worry, you’ve come to the right place!
Necessary material
Before you start drawing a portrait, you’ll need to make sure you have the right materials on hand. Here’s what you’ll need:
- A quality pencil – an HB or 2B pencil will do the trick to start.
- An eraser – make sure you have an eraser that erases well so you can correct your mistakes.
- Drawing paper – use quality drawing paper for best results.
Now that you have all the necessary materials, you are ready to start drawing your portrait!
Step 1: Proportions
The first step to drawing a realistic portrait is to understand facial proportions. This means you need to learn how to draw different parts of the face in the right proportions.
Start by drawing a vertical line down the middle of your paper to divide the face into two equal halves. Next, draw a horizontal line to mark the position of the eyes. The eyes should be placed about halfway between the horizontal line and the bottom of the face.
Next, measure the width of the eyes and use this measurement to determine the space between the eyes and the sides of the face. Draw light lines to indicate the position of other parts of the face, such as the nose and mouth.
Remember that these lines should only be light guides and will need to be erased later. Now that you have the basic proportions, you can move on to the next step!
Step 2: Facial contours
Now that you have the facial proportions, it’s time to start drawing the facial contours. Use a darker pencil to outline the face following the lines you drew previously.
Start by sketching the general contours of the face, focusing on the overall shape. Next, draw the contours of the forehead, cheeks, chin and jaw, paying attention to details such as the shape of the nose and lips.
Remember that you can always correct and adjust the outlines as you progress with your drawing. Be patient and take your time to get the facial contours as precise as possible.
Step 3: Facial details
Now that you have the facial outlines, it’s time to add the facial details. Start with the eyes, drawing the pupils, irises and eyebrows. The eyes are often considered the most expressive part of the face, so make sure you give them enough attention.
Next, draw the nose, focusing on the shadows and shapes. The nose can be complex, so take your time to observe and reproduce the details accurately.
Finally, draw the mouth focusing on the lips and teeth. Lips can be tricky to draw, so take your time to create a realistic representation.
Step 4: Shadows and Values
Now that you have added the facial details, it’s time to add depth to your drawing by adding shadows and values. Shadows can help create an illusion of volume and dimension, making your drawing more realistic.
Use a darker pencil to add shadows to parts of the face that are shaded, such as the hollows of the eyes, nose, mouth, and cheeks. Pay attention to different tones and values to make your drawing more lively.
Don’t be afraid to experiment with shadows and values to create a realistic effect. Use quick, light strokes for lighter areas, and add darker, thicker strokes for shaded areas.
Step 5: Finishes and touch-ups
Once you have added the shadows and values, you can move on to finishing touches and touch-ups. Use a softer pencil to add extra details, like eyelashes, wrinkles, and highlights in the eyes.
Also take the time to check the proportions and make any necessary adjustments. Erase the guide lines and correct any errors to get a more accurate portrait.
Understanding Shadows and Lights in Portrait Drawing
The Importance of Shadows and Lights
After exploring the basics of portrait drawing, a crucial question arises: how do you bring a face to life on paper? The answer lies in understanding and applying light and shadow. It is this interplay between light and dark that transforms a flat drawing into a three-dimensional, realistic work of art.
1. The Role of Shadows
Shadows are not just dark areas; they are essential for defining the shape and depth of a face. Shadows determine where the light does not hit directly and reveal the underlying structure of the face. For example, shadows under the cheekbones accentuate their protrusion, while shadows along the nose help define its shape.
2. Lights and Reflections
Likewise, illuminated areas and reflections play a crucial role. They highlight the parts of the face most exposed to the light source, such as the forehead, nose and cheeks. Reflections in the eyes, in particular, are essential for bringing life and expression to the portrait.
3. Tonal Values
The success of a portrait depends greatly on the ability to vary tonal values. This means using the full range of grays between black and white. Smooth transitions between tones create a more natural and realistic effect, while sharp contrasts can give more strength and dynamism to the drawing.
Techniques for Mastering Shadows and Lights
1. Observation and Analysis
The first step is to carefully observe your subject or reference. Note where the light hits the face and where the shadows form. This initial analysis is crucial to a successful drawing.
2. Application of Shadows
Start by applying shadows lightly, gradually building up the depth. Use gentle strokes and blending to avoid abrupt transitions except in cases where strong contrast is needed.
3. Light Management
Leave some areas of the paper blank to represent the brightest spots. You can also use an eraser to gently remove the pencil and create lighting effects.
4. Balancing and Review
Take a step back from time to time to assess the overall balance between light and shadow. Adjust tones as necessary to achieve a harmonious and consistent effect.


