Hiking enthusiasts know it well: having access to drinking water is essential for their safety and well-being during their outdoor adventures. Water filters are essential tools that help purify water from natural sources such as rivers, lakes or streams, making it suitable for consumption. In this article, we reveal the secrets of manufacturing water filters for hiking, offering you a practical and economical solution to ensure your hydration during your escapades in the great outdoors.
The different types of water filters
Before you start making your own water filter, it is important to know the different types available on the market. Water filters for backpacking generally fall into three categories: pump filters, gravity filters, and membrane filters.
Pump filters, as the name suggests, work by pumping water through a filtration system. They are generally lightweight and easy to use, but require some physical effort to operate the pump.
Gravity filters use the force of gravity to filter water through a system of filter cartridges. They are simple to use, just fill the upper tank and let the water flow naturally to the lower tank using gravity.
Finally, membrane filters use advanced filtration technology that eliminates most bacteria and protozoa present in water. They are often the lightest and most compact, but may require a little more technical knowledge to use.
Making a DIY water filter
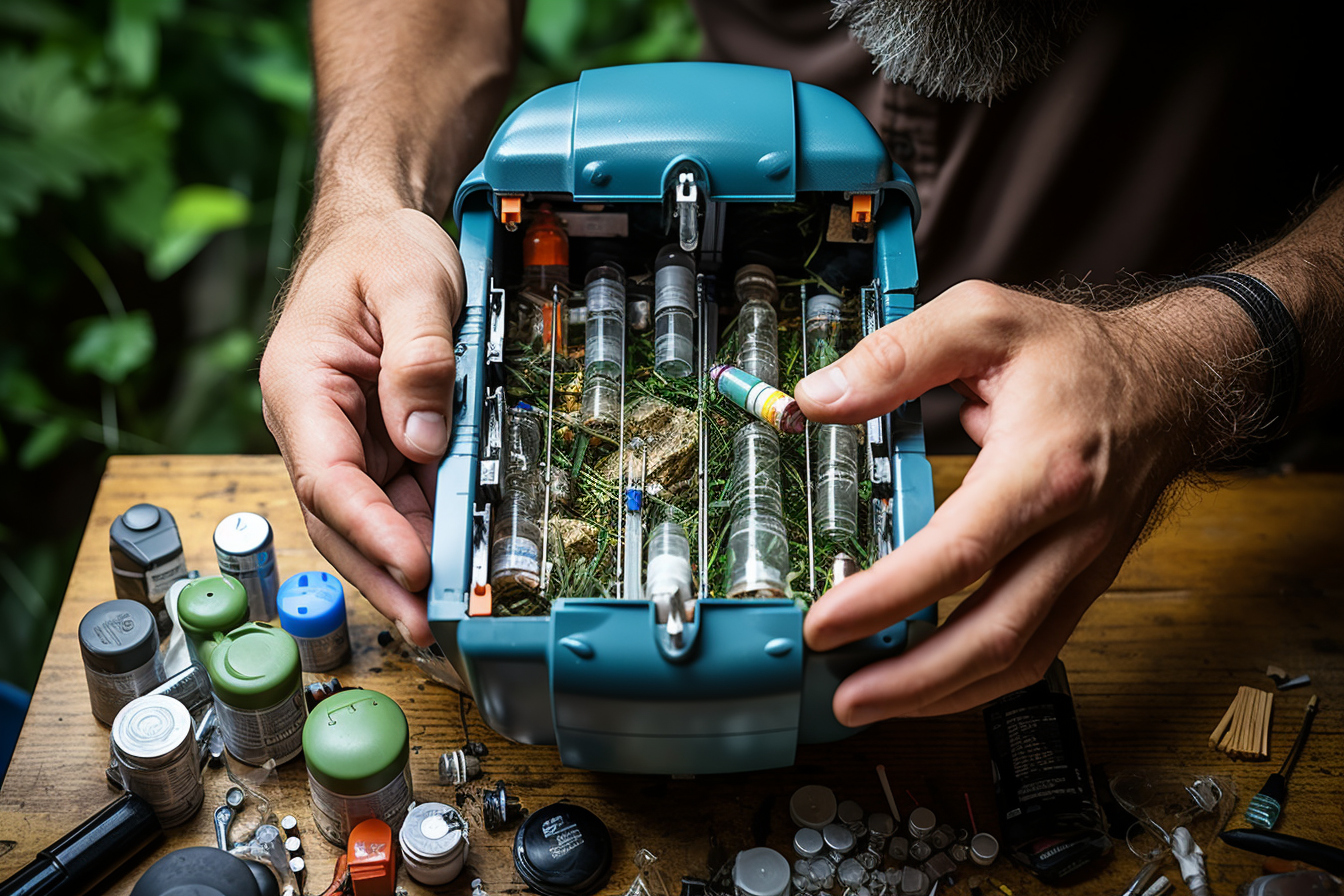
If you like DIY (Do It Yourself) projects, you will be delighted to learn that it is possible to make your own water filter for hiking. Here are the steps to follow to make your own water filter from simple and inexpensive materials:
- Find a sturdy plastic container in which you can place the different elements of your water filter. Make sure the container has a tight-fitting lid to prevent leaks.
- Poke a small hole in the lid of the container and insert a clear plastic tube into it. This tube will serve as an outlet for the filtered water.
- Place a layer of gravel at the bottom of the container, followed by a layer of fine sand and a layer of activated carbon. These materials will act as filters to remove impurities from the water.
- Attach another end of the plastic tubing to a hand pump or soft bag. This pump or bag will be used to draw water through the filter.
- You are now ready to use your DIY water filter! Simply dip the bottom of the tube into a natural water source, pump or squeeze the bag, and let the filtered water flow out the other end of the tube for safe consumption. security.
The benefits of DIY water filters for hiking
There are many benefits to making your own water filter. First of all, it saves you from investing in an expensive water filter. By using recycled or inexpensive materials, you can save money while still having an effective water filter.
Plus, making your own water filter gives you greater freedom and flexibility when hiking. You can adapt your filter according to your specific needs, by adding additional layers of filtration or using different materials, depending on the quality of the water to be filtered.
Finally, making your own water filter is also an ecological gesture, since you can reuse and recycle the materials used. You thus contribute to the preservation of the environment while enjoying the benefits of pure water during your excursions in the great outdoors.
In conclusion, making water filters for backpacking is a valuable skill for any outdoor enthusiast to learn. It allows you to ensure your safety and well-being by ensuring a constant supply of drinking water. By making your own DIY water filter, you save money, have more control over the quality of the filtered water and help preserve the environment. So, start making your own water filter and set off on an adventure with complete peace of mind!