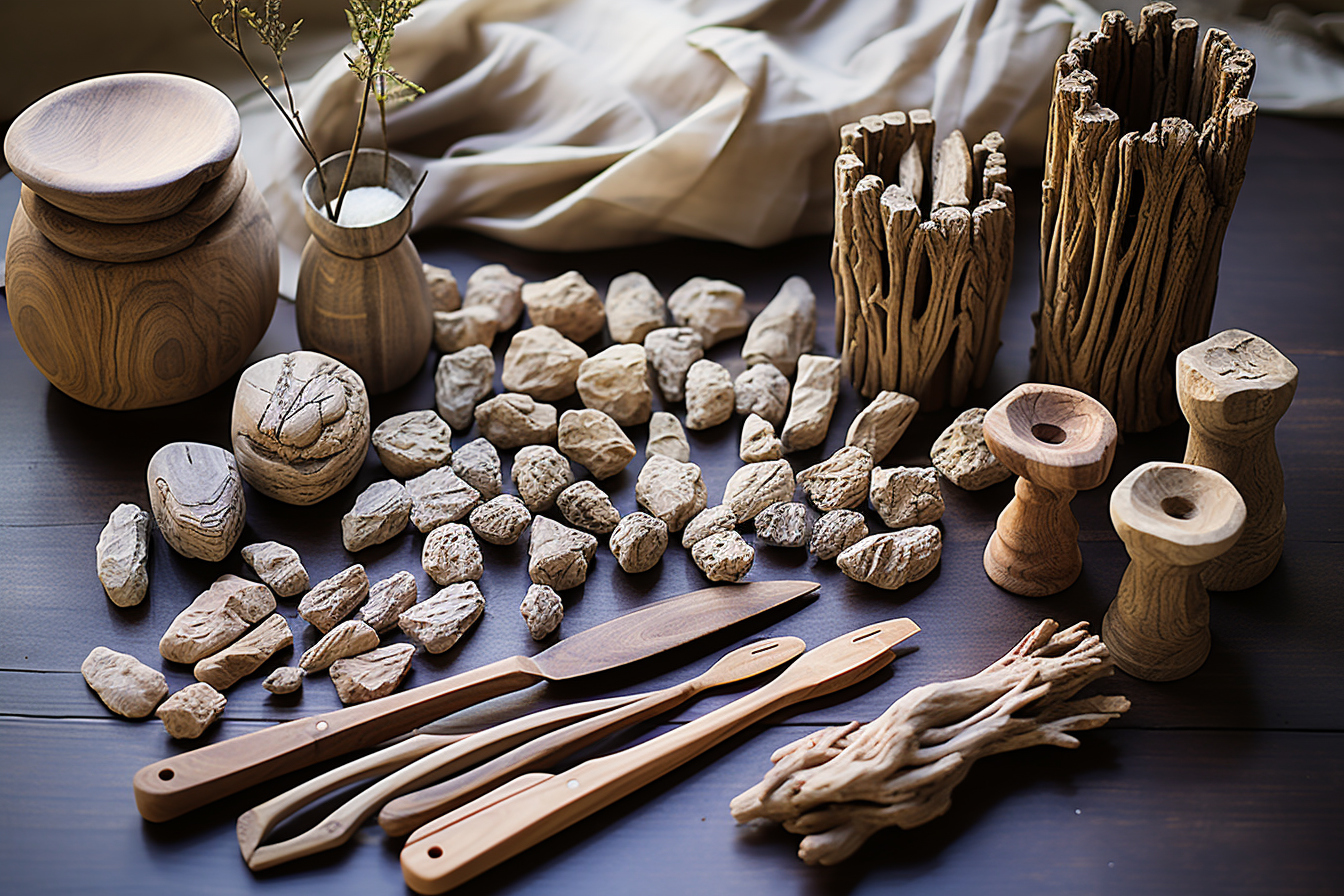
Driftwood wall decorations have been on the rise in recent years. They bring a natural and authentic touch to your interior, while adding an artistic dimension to your walls. In this article, we reveal all the secrets of making these unique pieces, as well as some tips for creating your own driftwood wall decoration.
Driftwood: a natural and unsuspected resource
Driftwood is obtained from branches, pieces of trunks or roots of trees that have been carried away by water currents and end up washing up on the banks of rivers, lakes or even on beaches. This natural resource offers a wide variety of shapes, sizes and textures, which allows you to create unique and original decorations.
Recovering driftwood: a creative treasure hunt
The first step in making a driftwood wall decoration is to go on a treasure hunt! Take a canvas bag and explore the beaches, river banks or even forests after a period of flooding. Pay attention to the shapes and sizes of the driftwood you collect, as they will determine the style of your decoration.
Cleaning and drying driftwood: an essential process
Once your harvest is complete, it is important to clean and dry the driftwood thoroughly before using it. To do this, remove any debris, algae or shells that could cling to it. Then, let the driftwood air dry for several weeks, making sure it is not exposed to moisture.
Preparing driftwood: sculpting and sanding work
Once the driftwood has been cleaned and dried, you can move on to the preparation stage. Depending on the style you want to give to your wall decoration, you can carve the driftwood to give it a specific shape. Use a saw, knife or carving tools to achieve the curves or lines you desire.
Next, proceed to sand the driftwood to give it a smooth, pleasant-to-the-touch texture. This will also reveal the different color nuances of the wood and protect it from possible splinters.
Creating your driftwood wall decoration: let your creativity speak
Once you have prepared the driftwood, you can start creating your wall decoration. Secure the different pieces of wood together using nails, screws or special wood glue, ensuring that they are securely held. Give free rein to your imagination when arranging the pieces of wood: you can align them, superimpose them or assemble them in an original way.
Don’t hesitate to add additional elements to your driftwood wall decoration, such as shells, stones or metal decorative elements. This will give an even more unique dimension to your creation.
Maintaining and enhancing your driftwood wall decoration
Once your driftwood wall decoration is finished, it is essential to maintain it regularly so that it retains all its natural beauty. Wipe a soft cloth or slightly damp brush over the wood to remove dust and any stains. Avoid direct exposure to sunlight or excessive humidity, as this could alter the wood and dull its colors.
Finally, to highlight your driftwood wall decoration, choose a strategic location in your interior. Let it take its place on an empty wall, above a sofa or a fireplace. You will see how this unique piece will bring a real touch of originality and elegance to your decoration.
In conclusion, making driftwood wall decorations is a creative and rewarding activity that brings real added value to your interior. With a little patience and imagination, you can create unique pieces that reflect your style and love for nature. So, embark on the adventure and let yourself be inspired by the beauty of driftwood!


